Debugging a Petri TTL
A while ago I found a Petri TTL in a thrift store. It was slightly dysfunctional, but I decided to take the gamble and buy it. If any, it would be a good camera to practice my repair skills on. The two things I noticed immediately were the following:
- The advance lever had a tendency to lock up;
- There was something in the viewfinder path.
Surely, this is not a major issue, right? RIGHT?
A bit of information about the Petri TTL
Japanese manufacturer, mostly rangefinders. Sold no-brand cameras to Argus, Kmart, Spiratone and JCPenny, among others.
- All-metal construction
- 1 s to 1/1000 s + B speeds
- Fully mechanical horizontal curtain shutter
- X-sync on 1/60
- Self-timer of about 10 s
- M42 mount
- TTL metering (duh)
- Manual and automatic DoF stop-down
- Bundled with a fairly rugged Petri f/1.8 50 mm lens
I hate this
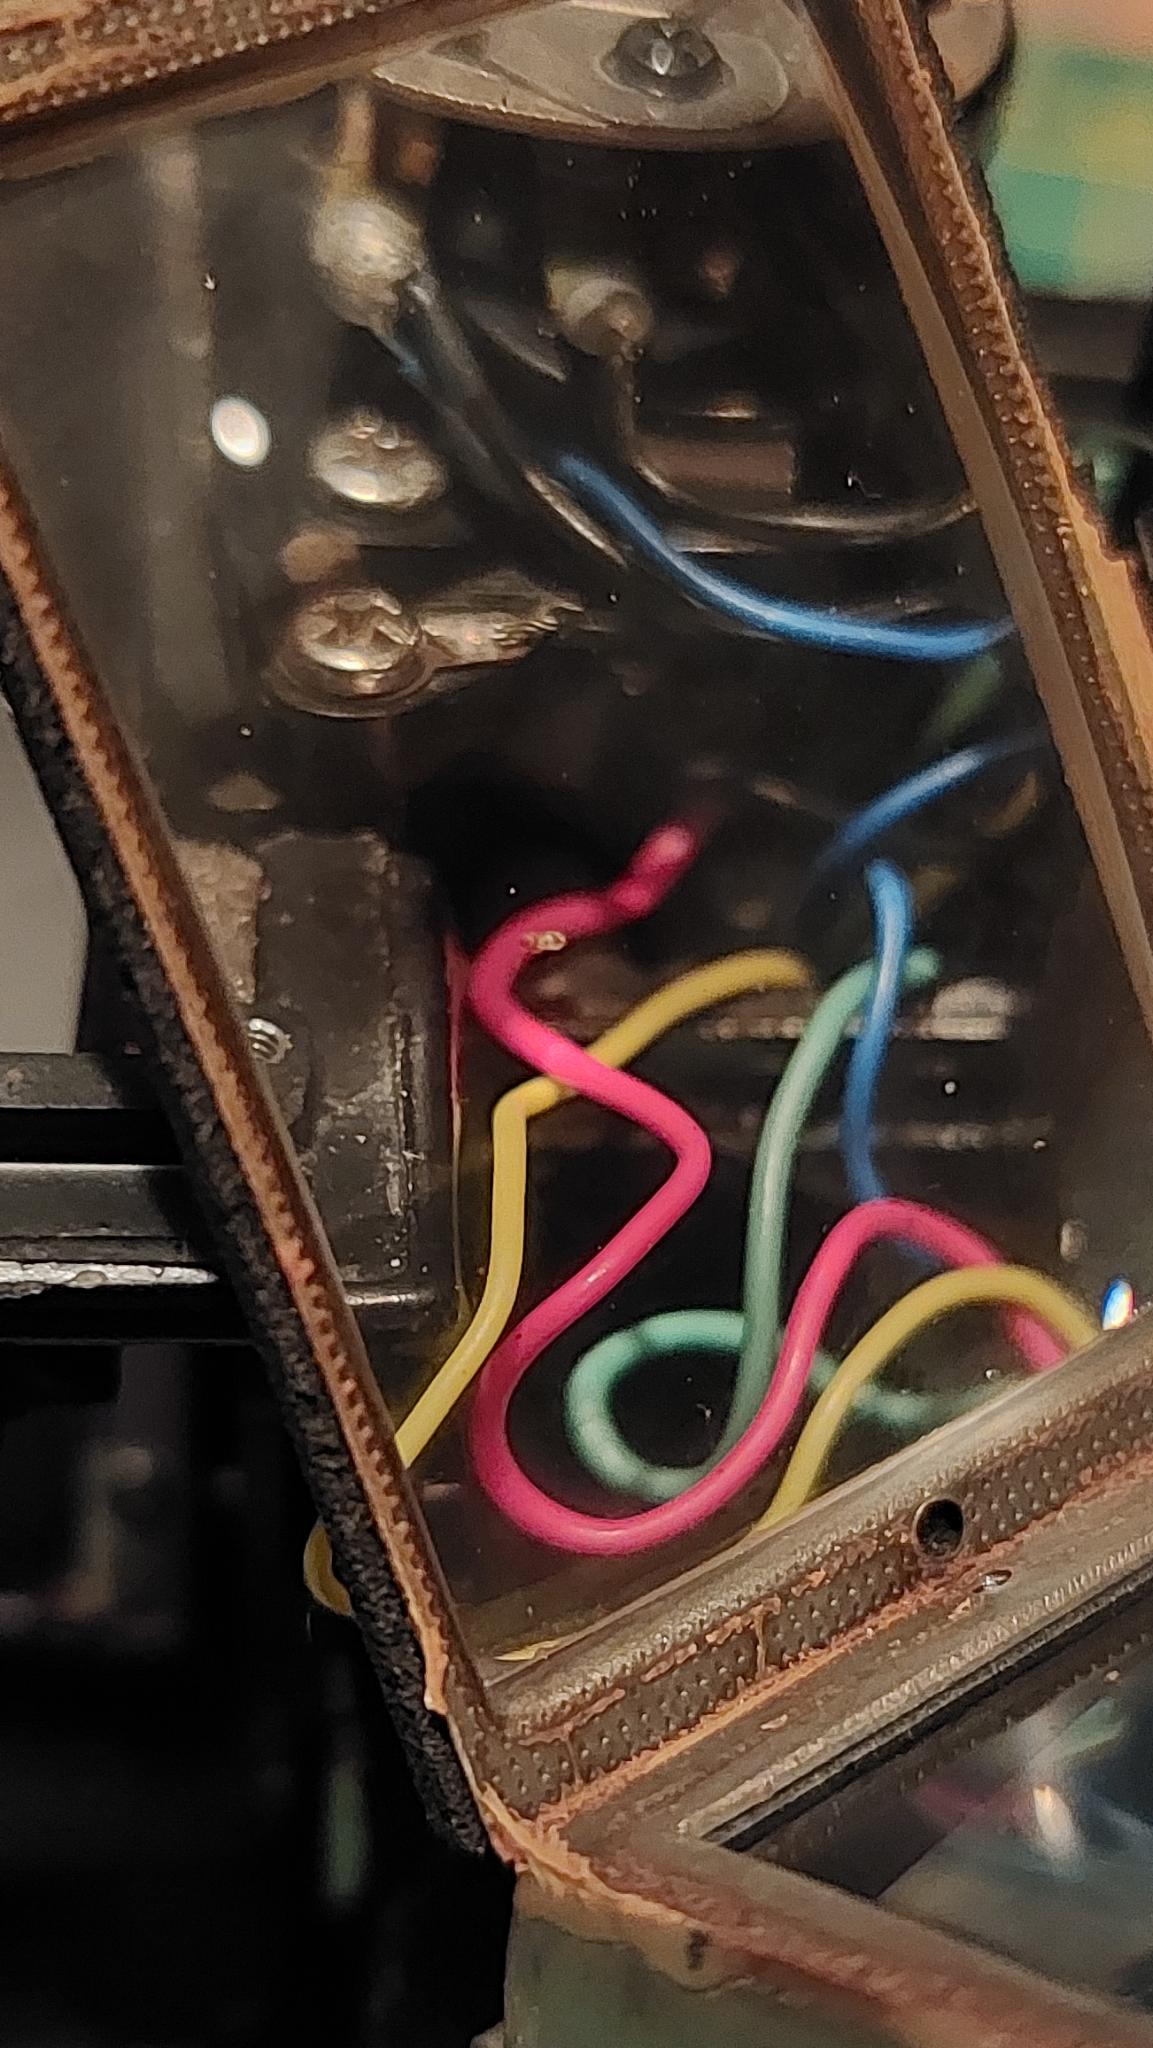
Looking through the viewfinder, I was presented with the following image:
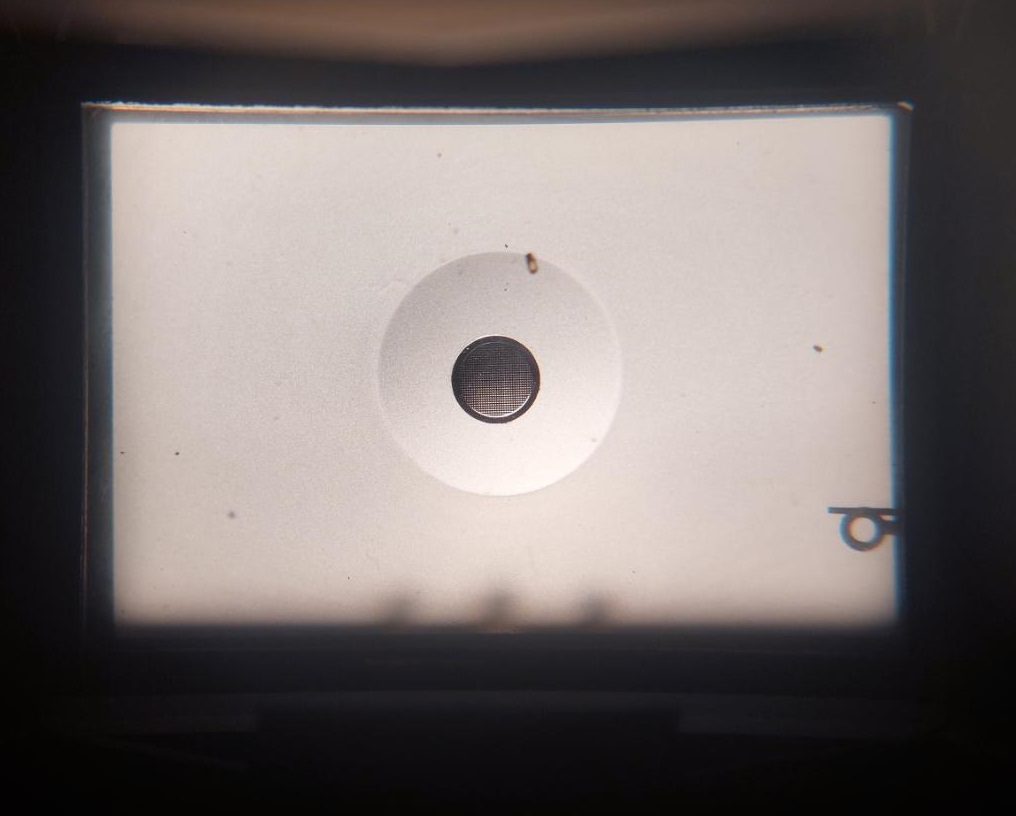
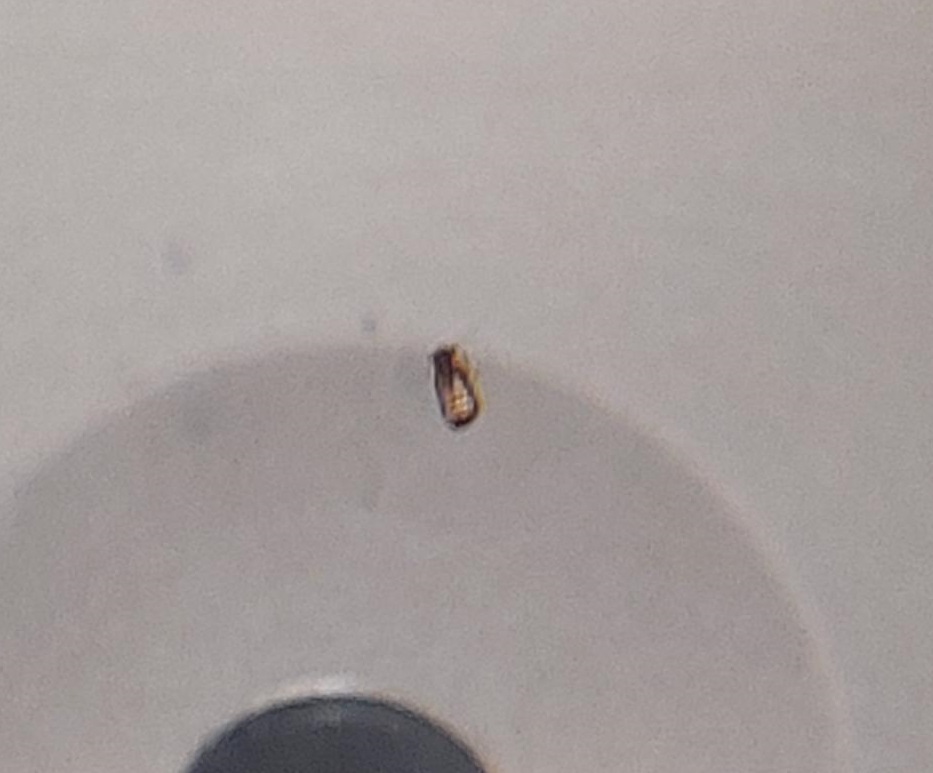
Yes, that is a bug. A flea, I think. Again, this must just be a an easy fix right? It’ll probably be somewhere on one of the exposed surfaces? Turns out, it was not on the lens. The pictures above are taken without a lens. So that leaves the mirror and the ocular.
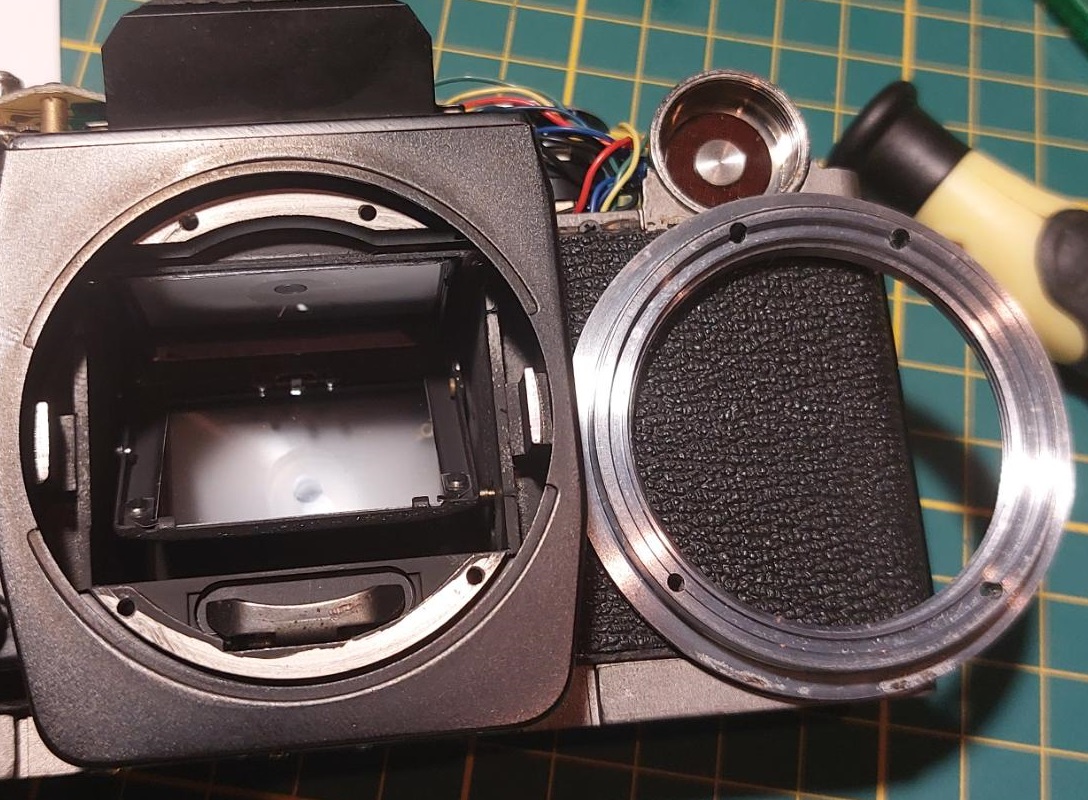
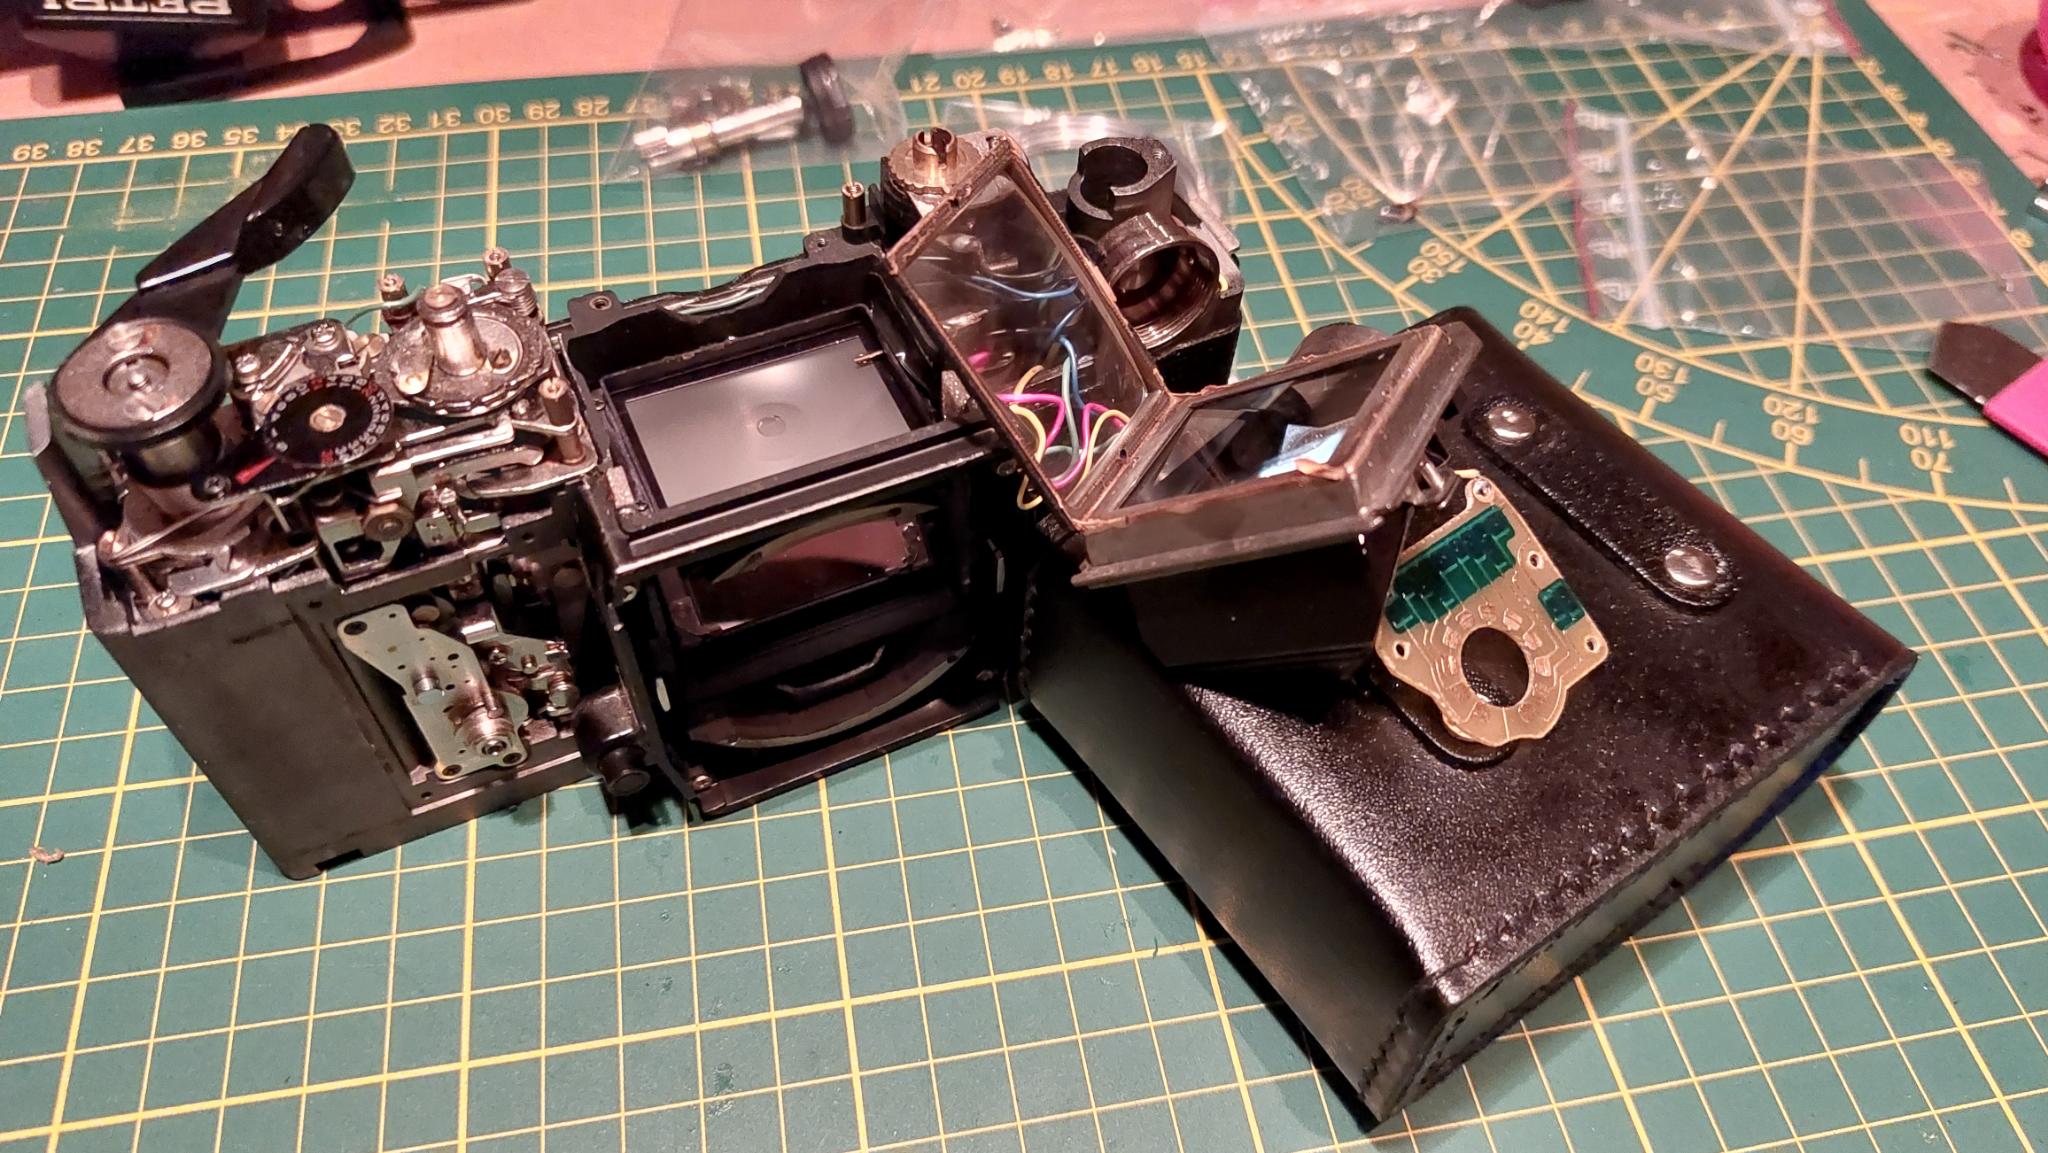
Nope. What surprised me were that the lens alignment ring was not shimmed at all, which means that the factory who built this just assumed “yeah our grinding tools are perfectly aligned, don’t worry about this” which is also really convenient for repairs. Next, I also was not able to remove anything from the bottom of the pentaprism lens. But that bug was still there. That left only one possibility: on one of the surfaces of the pentaprism. In order to take the pentaprism off, you need to disassemble the entire electronic eye circuit assembly:
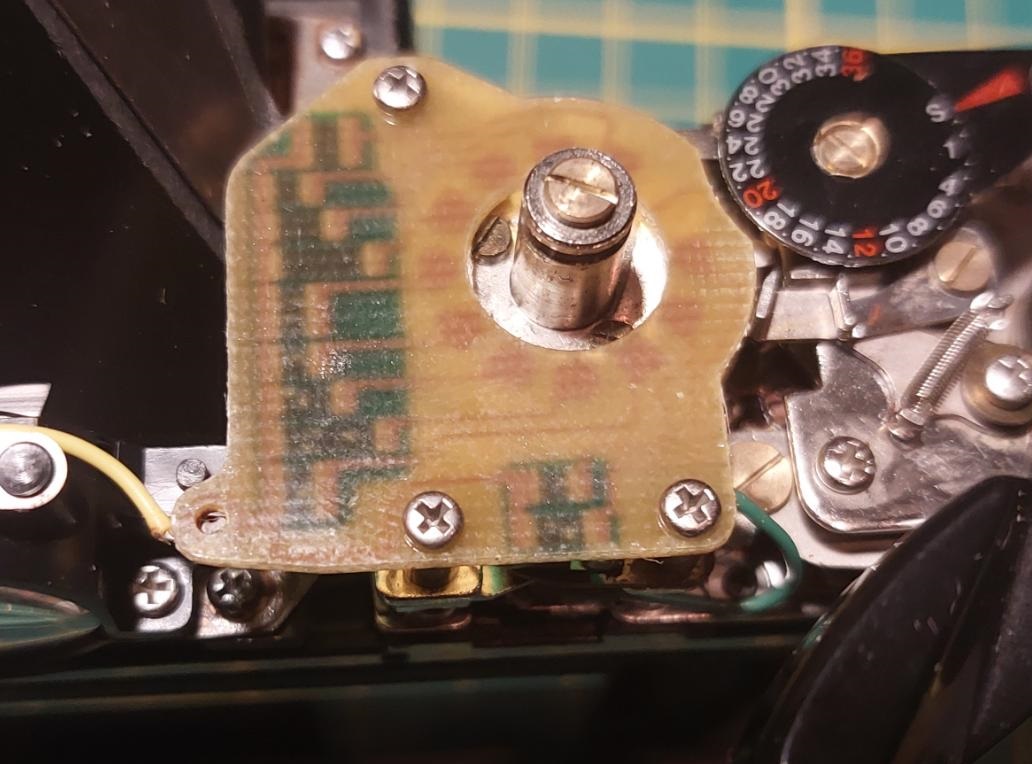
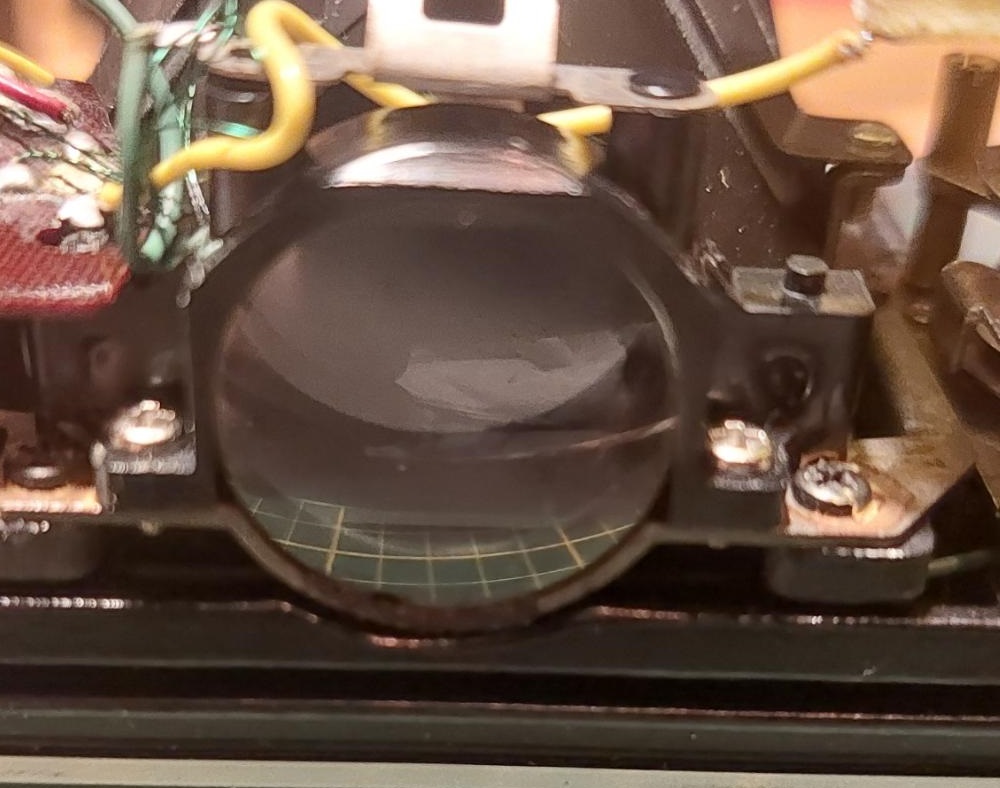
The trickiest part came up next: the pentaprism has a lens at the bottom that allows for proper focus through the ocular. This lens was cemented to the pentaprism assembly, but also required two well hidden screws to be taken off.
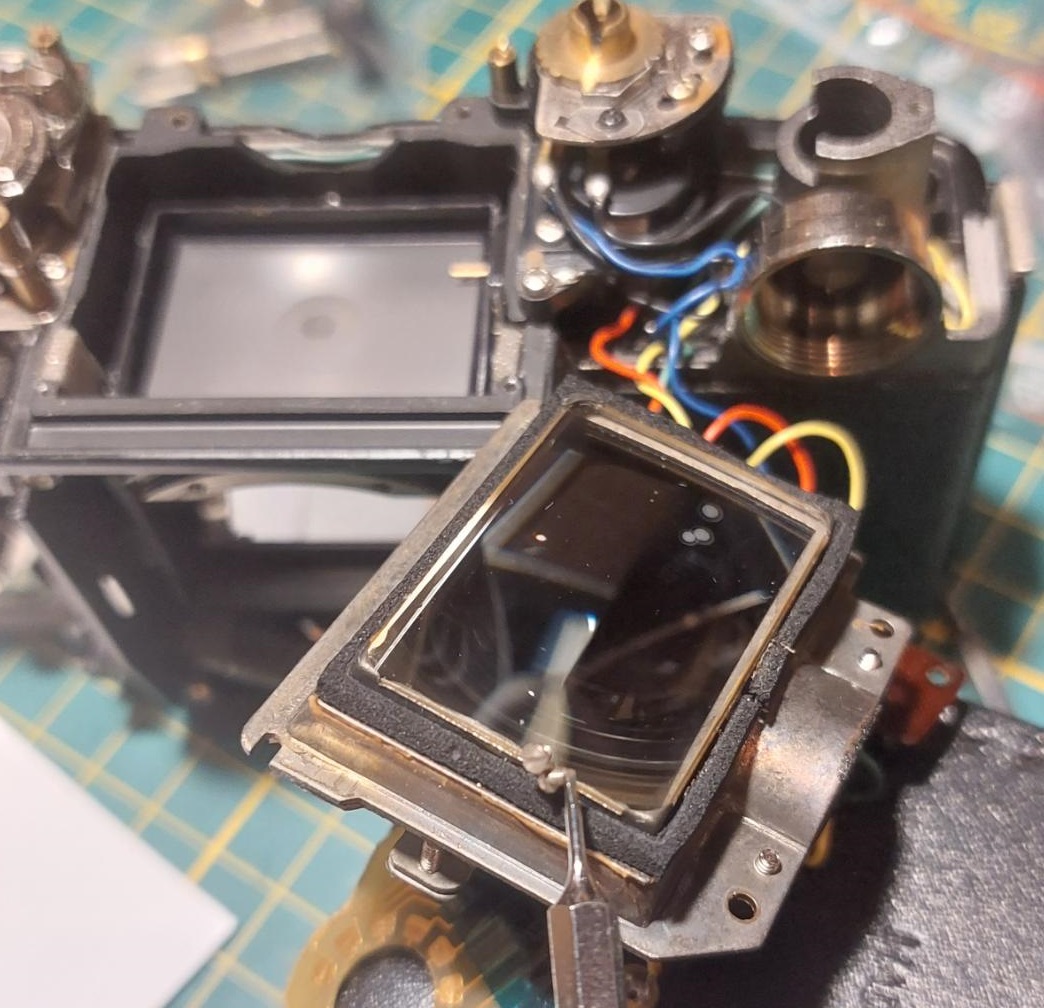
Gotcha. Just to show the disassembly carnage that this bug has wreaked:
The most shocking thing in this entire project was the fact that the bug was in this part of the assembly - which should not even be possible, since the compartment is was located in was completely cemented shut. How? How did you do this? What powers does this bug possess that I can only live in fear of?
…
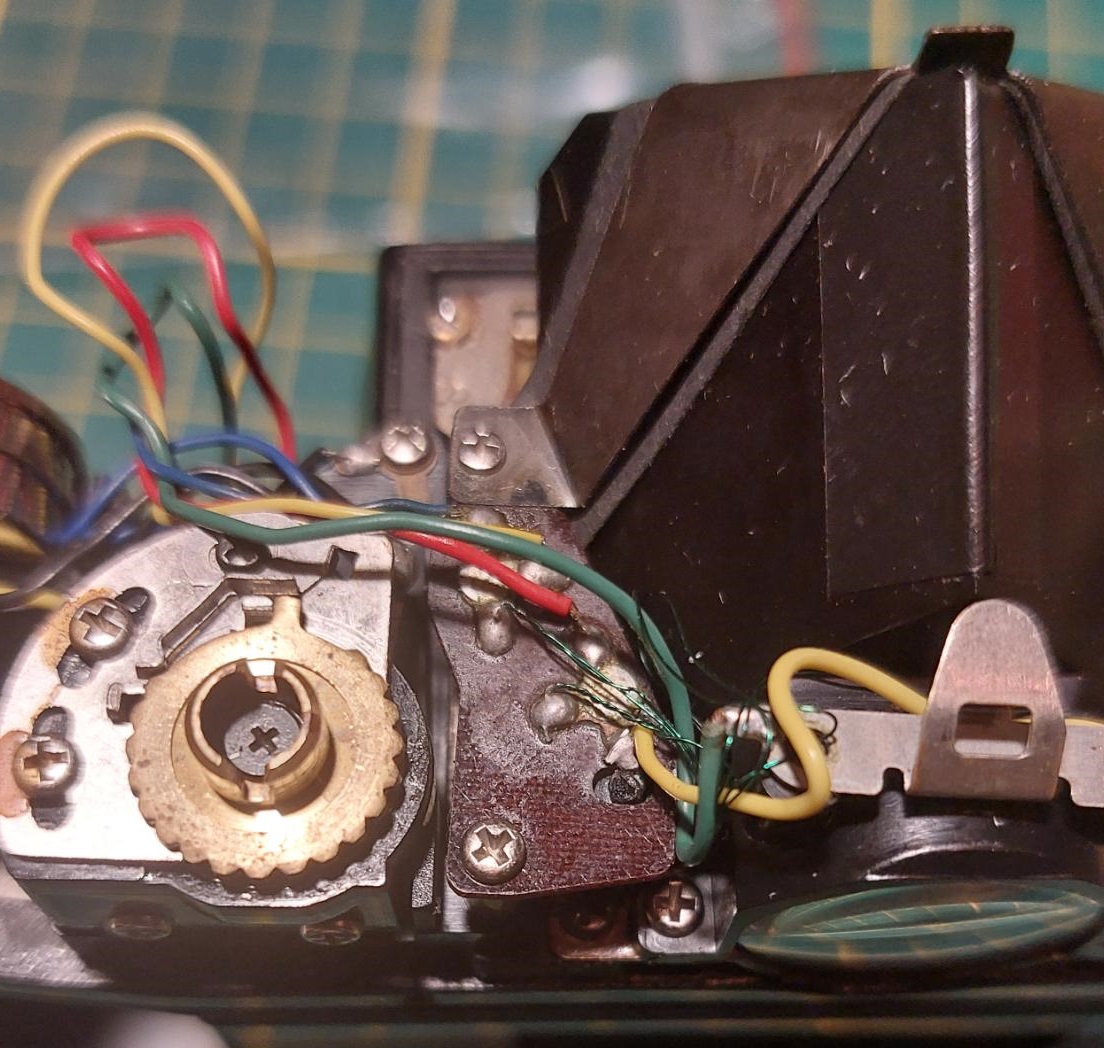
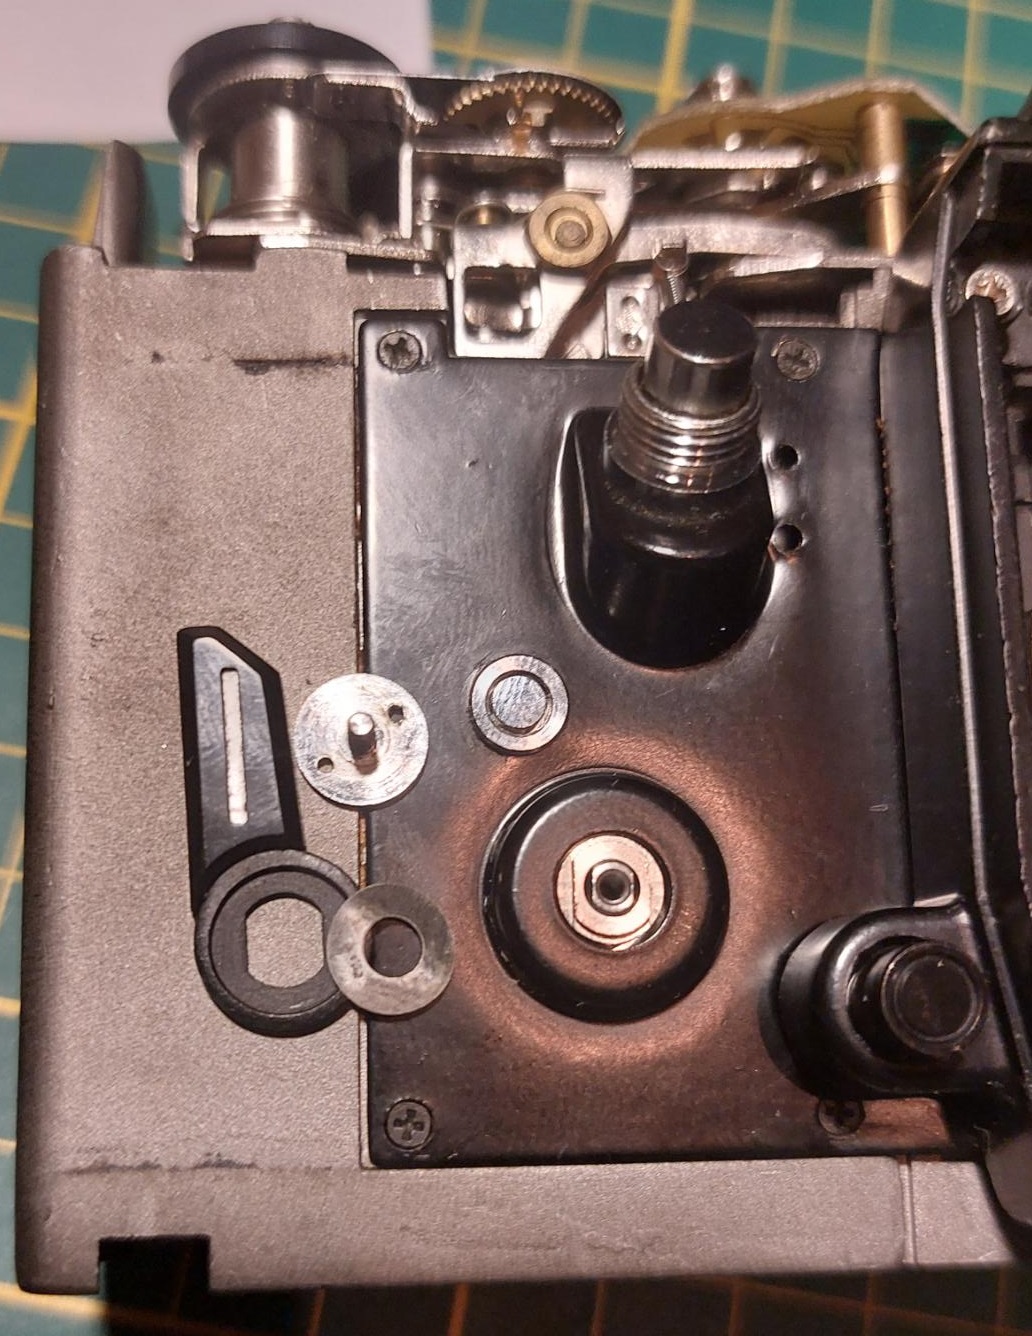
Anyways, the locking advance lever issue was fixed by taking off the self-timer and shutter button panel behind the leatherette and advancing the camshaft via the gear indicated with the red arrow.
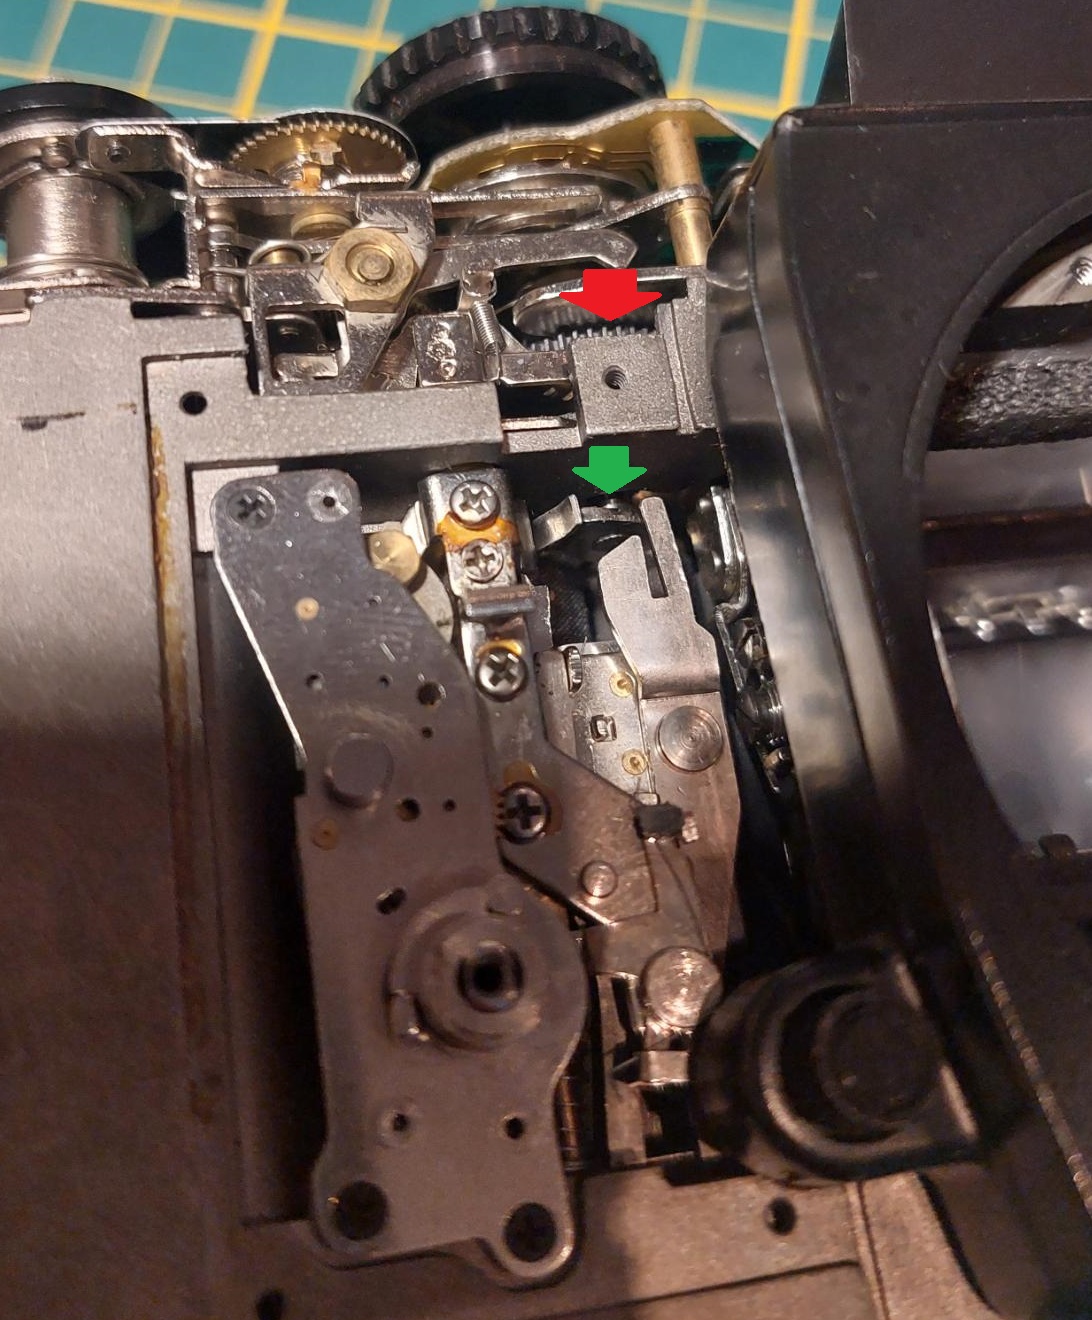
The cam, green, activates a shutter lock which is only disabled upon depressing the lever to the left. By carefully rotating the shaft to the right (clockwise from the bottom) the lock is disabled and the advance lever works again. By dripping some isopropyl alcohol on the shaft, the seized grease became unstuck and all shutter speeds now work properly.
Final thoughts
Good practice, funny problem. The camera also has a shutter EXPLOSION that can be heard from two blocks away. 10/10.